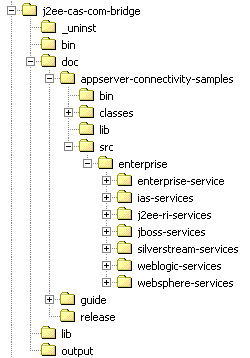
Your bridge installation should have a directory structure as shown in figure 1. Follow these steps :
- Create a jboss-services directory under doc\appserver-connectivity-samples\src\enterprise.
- Copy every file from the weblogic-services directory to the jboss-services directory.
- In the jboss-services directory, rename each file weblogic* by jboss*.
- In each file, replace (be careful, the words are case sensitive) :
- Weblogic and WebLogic by JBoss
- WEBLOGIC by JBOSS
- weblogic by jboss.
Now we have a raw copy of the weblogic service, but named jboss.
Modify the following source files (click on the name to see the modified source) :
- JBossService.h : The Initial Context Factory is org.jnp.interfaces.NamingContextFactory line 25.
- JBossService.cpp : The provider URL is jnp://localhost:1099 line 11.
- JBossServices.idl
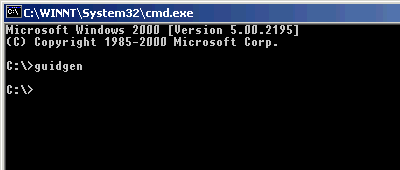
: open a command line and type guidgen
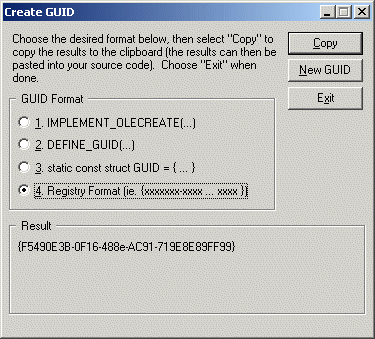
(Figure 2). The GUID generator will be launched (Figure
3).
- Choose the registry format.
- Press the New GUID button. Copy the GUID generated. It will be used for the IJBossServices interface. Paste it into the JBossServices.idl file at line 12.
- Press again the New GUID button. Copy the GUID generated. It will be used for the JBossServices Type Library. Paste it into the JBossServices.idl file at line 22.
- Press again the New GUID button. Copy the GUID generated. It will be used for the JBossServices Class. Paste it into the JBossServices.idl file at line 32.
- JBossServices.rgs
: replace the GUID in the file :
- Paste the GUID of the JBossServices Class line 5, 9 and 14.
- Paste the GUID of the JBossServices Type Library line 23.
- JBossServices.rc : fill-in the resource description strings as you want (from line 73 to line 85).
The source files are now ready to be compiled.
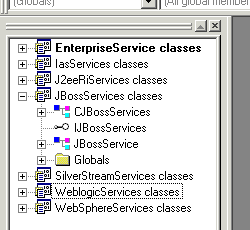
Open Microsoft Visual C++ and open EnterpriseServices.dsw located in doc\appserver-connectivity-samples\src\enterprise :- Add a the JBossServices project to the workspace.
- Expand the JBossServices. You should have a project window like the (Figure 4).
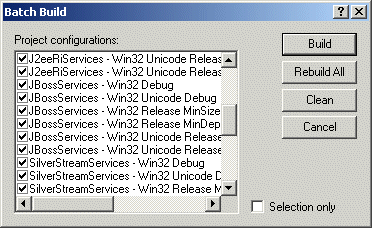
- Choose Build/Batch Build menu (Figure 5). Select everything and press the Rebuild All button.
- You should see the compilation of all configurations (Figure 6).
- The DLLs are now created and registered. The generated DLL (at least the interesting one) is in the jboss-services\Release\MinSize directory.
That's it. You have build and register the DLL needed to allow COM access to JBoss.
